Installation and basic usage
Installation
From GitHub
- Download the latest
events-made-easy.zipfrom GitHub releases - Go to Plugins → Add New → Upload Plugin
- Upload the ZIP file and activate
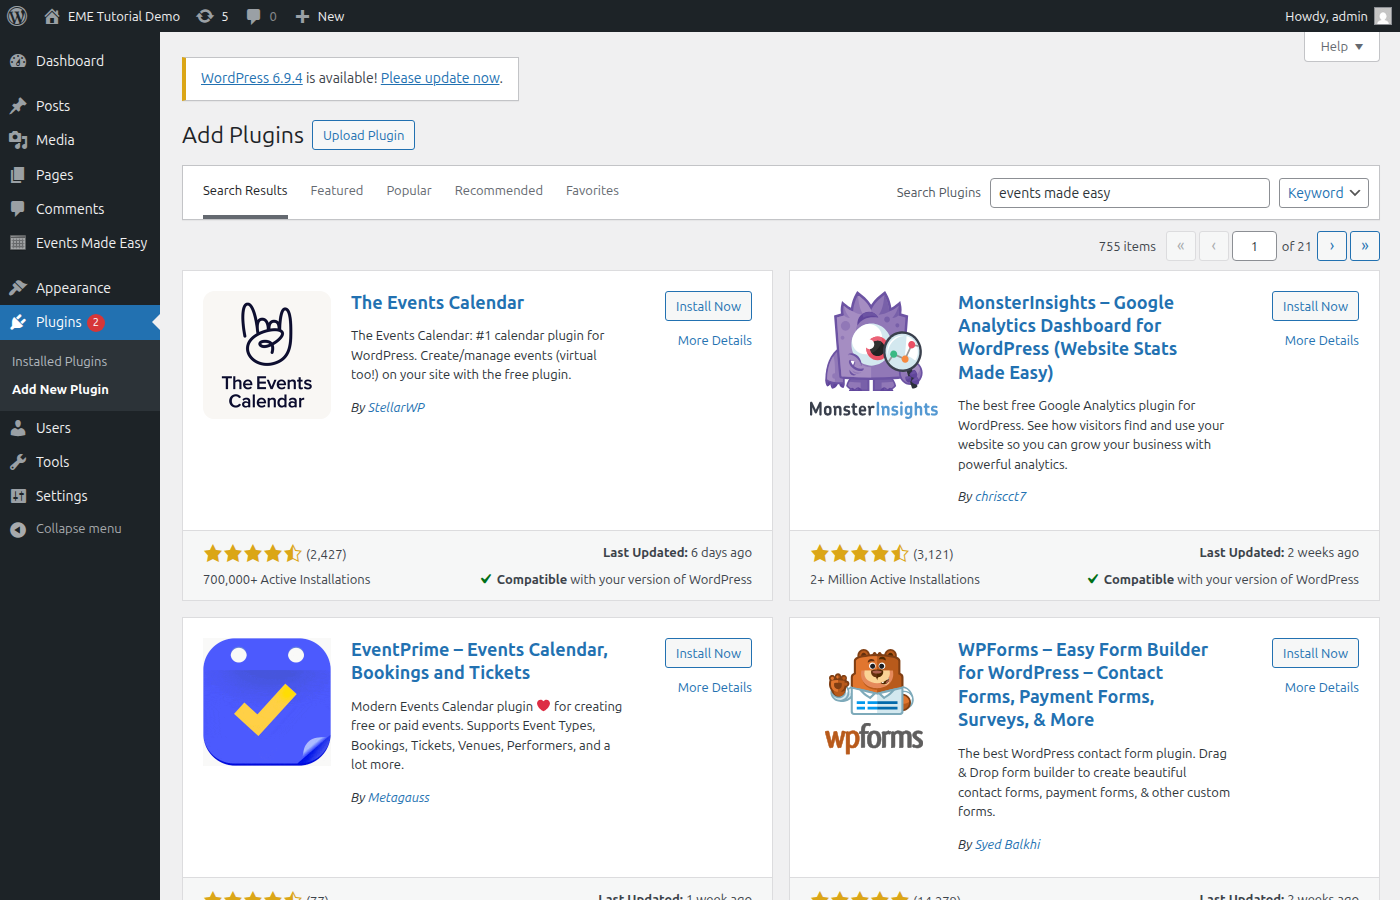
From the WordPress Plugin Directory (coming soon)
EME is working towards being listed in the WordPress Plugin Directory. Once available, you will be able to install it directly from Plugins → Add New in your WordPress admin.
Note: Your database user must have rights to create and modify tables. EME creates 25+ custom tables on activation for events, bookings, people, memberships, and more.
After activation — the Events page
Important: Upon first activation of the plugin, a new WordPress page is created (typically called “Events”). That page is very special. Don’t change it, don’t use it in your menus, don’t delete it. Just make sure the EME setting called “Events page” points to this page. EME uses this page to render any and all event or location info, bookings, maps, payments — anything. So again: don’t touch it, don’t use it in your menus, don’t delete it.
After activation, a new Events Made Easy menu appears in your WordPress admin sidebar with 19 dedicated admin pages:
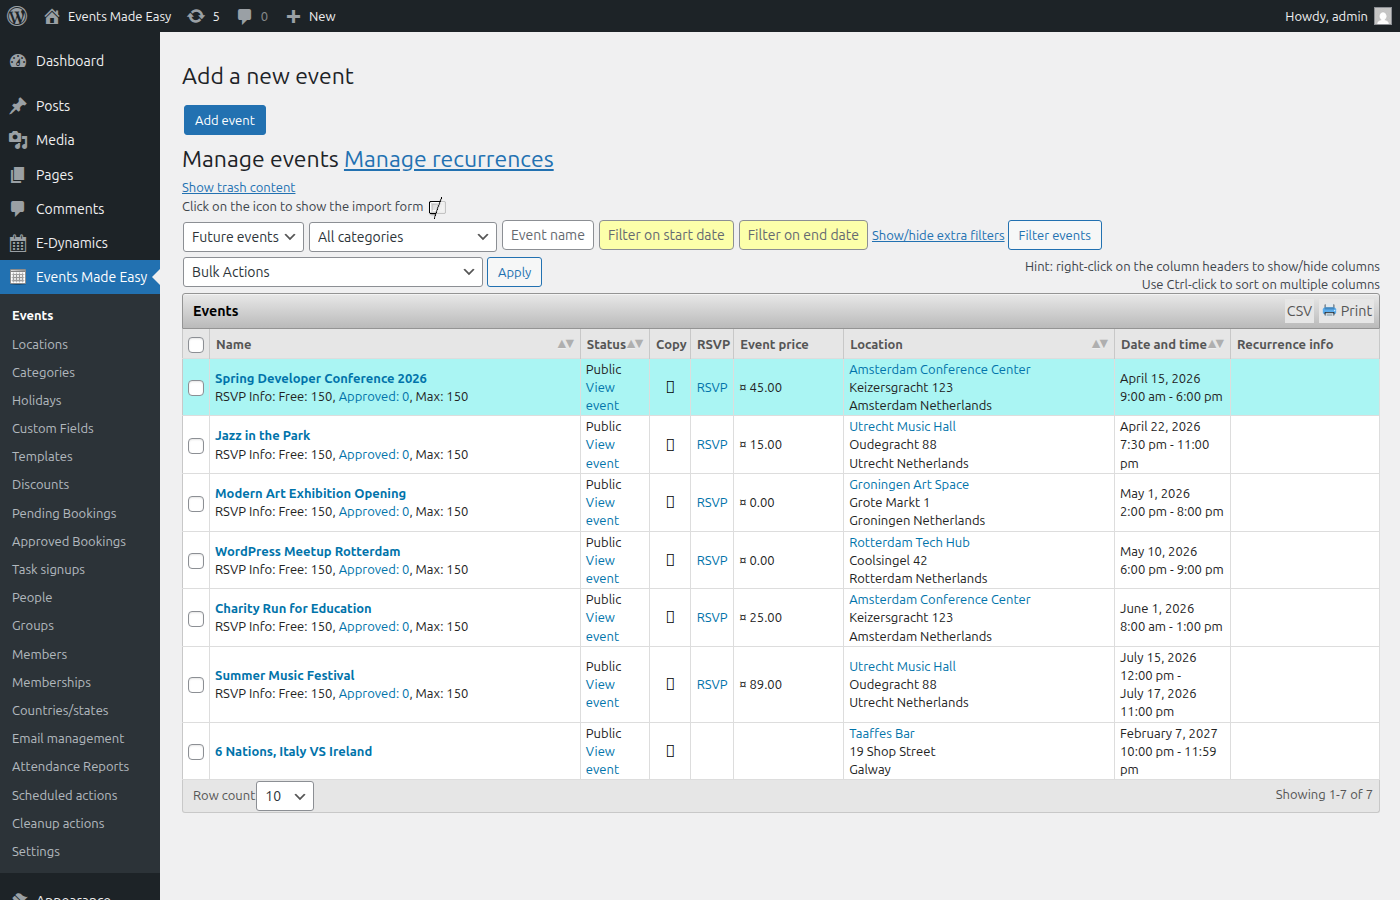
The most important ones to get started:
- Events — create, edit, and manage all your events
- Locations — manage venues with addresses and map coordinates
- Categories — organize events into categories (these are EME categories, not WordPress categories)
- Custom Fields — add extra data fields to events, people, or booking forms
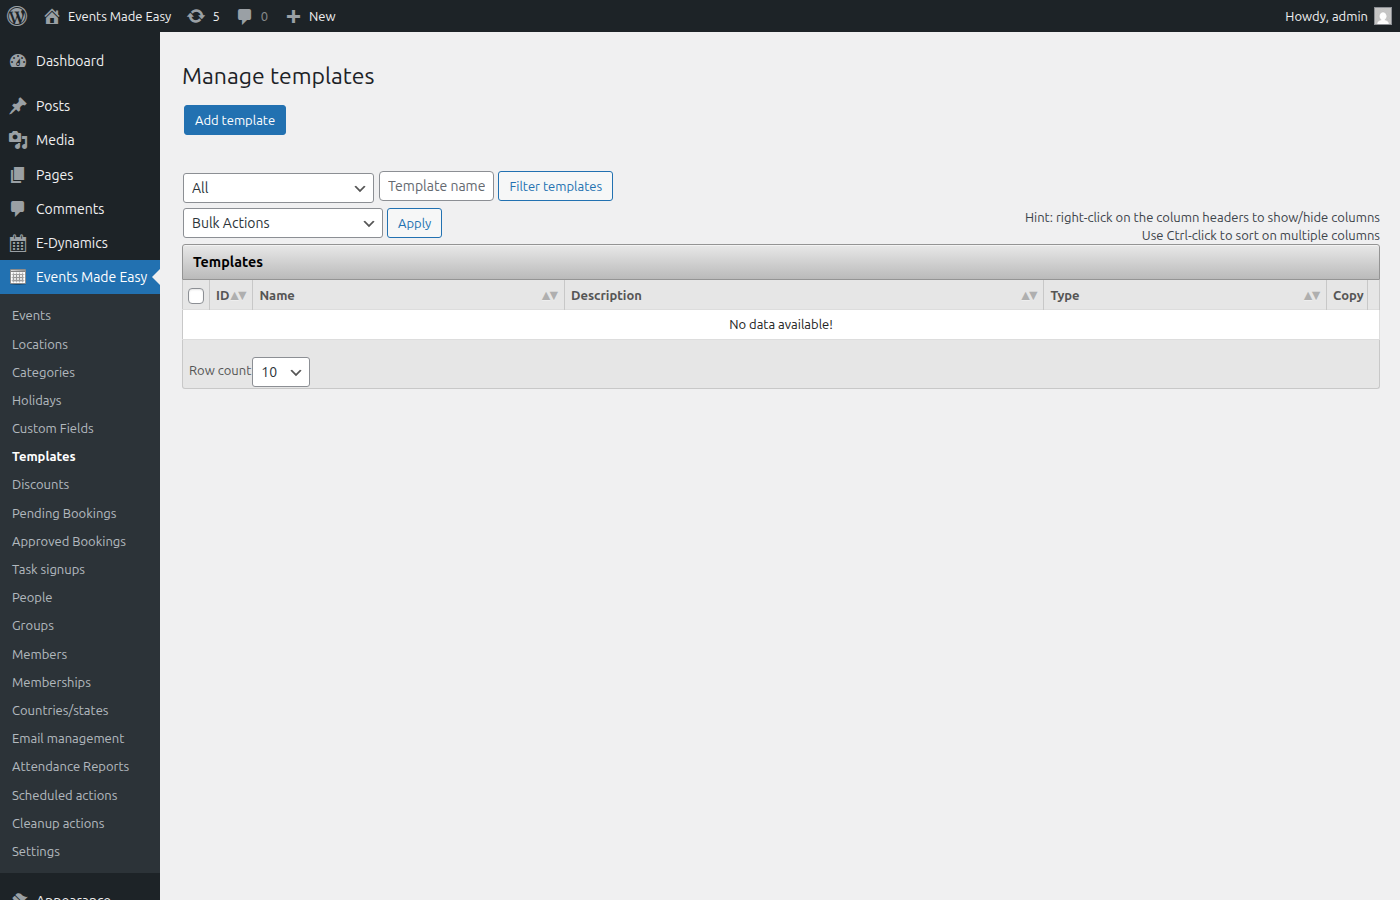
- Templates — define reusable format strings for event listings, emails, and more
- Settings — configure everything: payments, email, maps, access control, and more
Create your first event
Go to Events Made Easy → Events. The “Add a new event” form is right at the top of the page.
- Event name — give your event a title
- Start and end date/time — these follow your WordPress timezone and date format settings (Settings → General)
- Location — click the Location tab to assign or create a venue. Enter an address and a map is generated automatically.
- Description — add event details in the rich text editor

Recurring events
Need an event that repeats? Check the “Repeated event” checkbox in the sidebar to reveal recurrence options:
- Daily — every N days
- Weekly — pick specific weekdays
- Monthly — by weekday or date
- Specific days — pick individual dates from a calendar
Each occurrence is stored as a separate event in the database. You can edit individual occurrences, but once modified, they’ll no longer follow the recurrence rule.
Event visibility
- Public — visible to everyone
- Private — only visible to logged-in WordPress users
- Draft — only visible to the event author and contact person
→ See also: Inserting events and locations
Display events on your site
Events are not WordPress posts. To display them on your site, create a regular WordPress page and add EME shortcodes. Here are the three essentials:
[eme_events] — event list
Displays a list of upcoming events. Add this shortcode to any page:
[eme_events scope="future" limit="10"]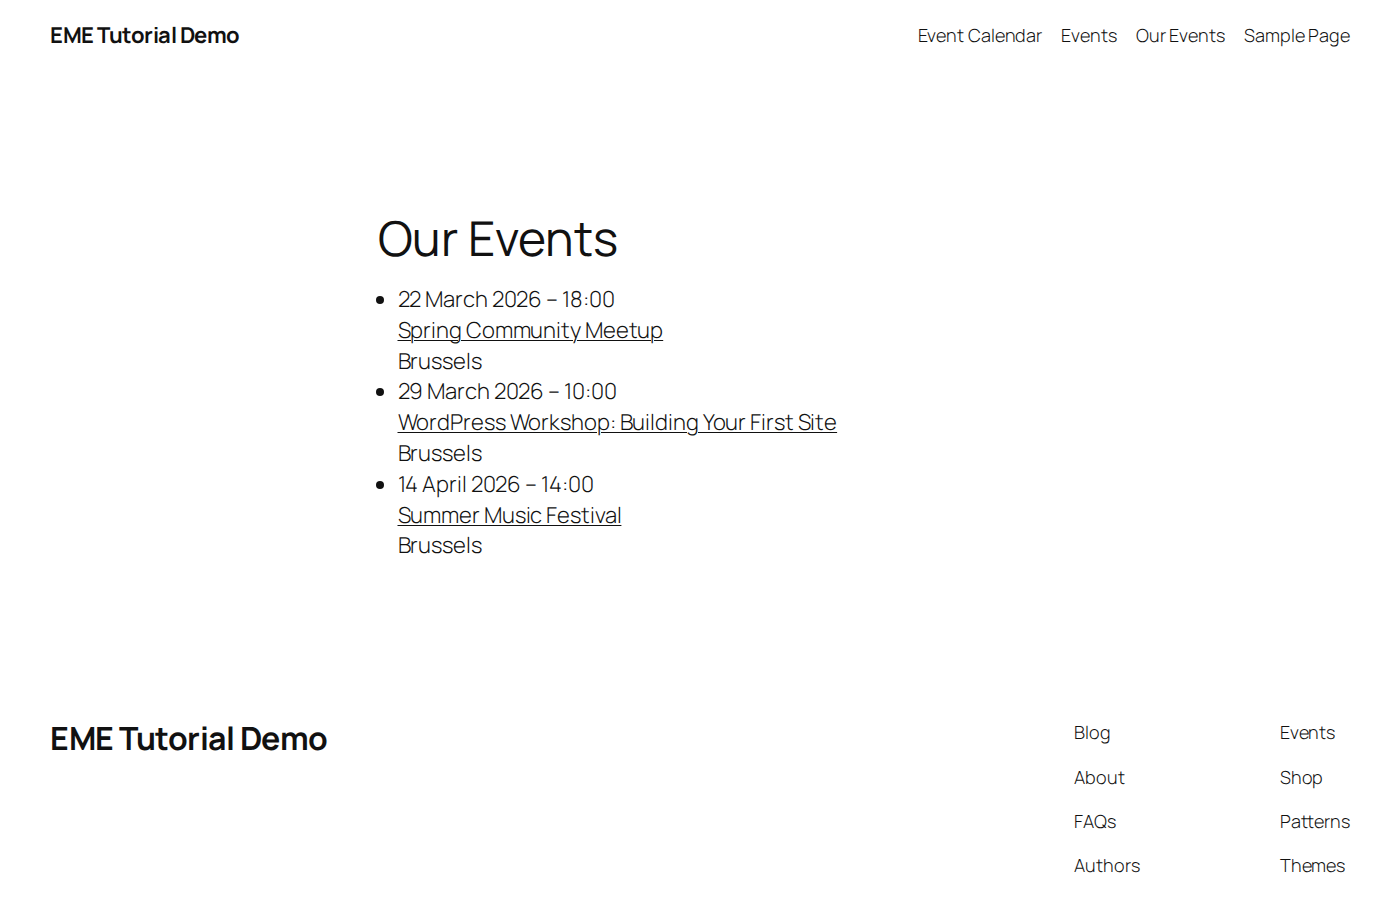
[eme_calendar] — interactive calendar
Displays a month-view calendar with events. Click a date to see its events:
[eme_calendar full=1]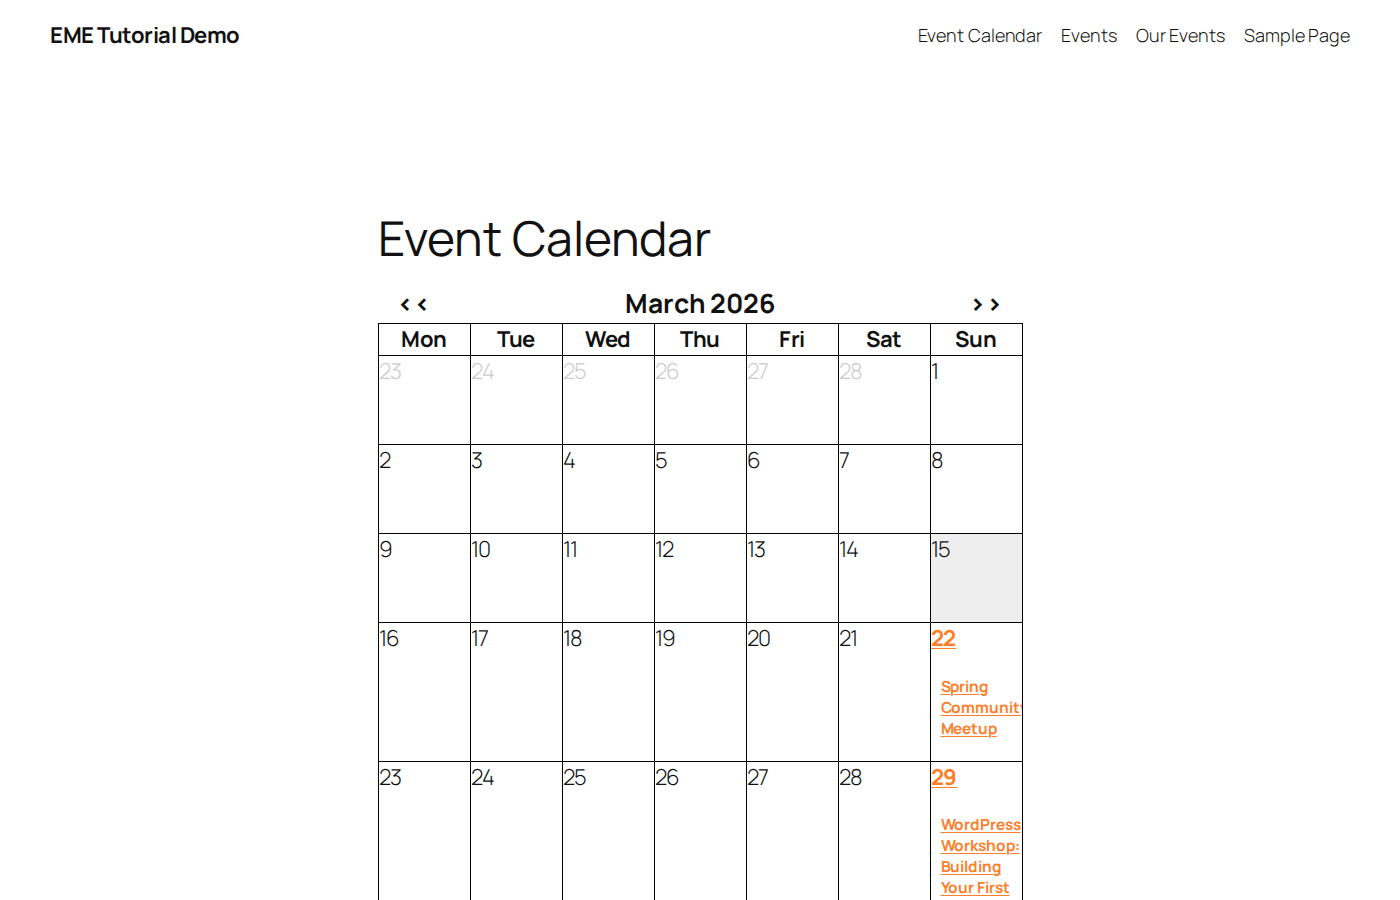
[eme_locations_map] — location map
Displays an OpenStreetMap with markers for all your event locations:
[eme_locations_map width="100%" height="400"]Common shortcode options
| Option | Example | Description |
|---|---|---|
limit | limit="5" | Maximum number of events to show |
scope | scope="this_month" | Which events: future, past, today, this_week, this_month, all, or a date range like 2025-01-01--2025-12-31 |
category | category="1,3" | Filter by EME category ID (comma = OR, plus = AND) |
template_id | template_id="3" | Use a saved format template instead of the default layout |
paging | paging=1 | Enable pagination for browsing through results |
→ See also: All 68 shortcodes | [eme_events] details | [eme_calendar] details
Customize the layout
Every piece of EME output is controlled by format strings that use placeholders. A placeholder looks like #_EVENTNAME or #_STARTDATE and gets replaced with actual data when the page renders.
Key placeholders
| Placeholder | Output |
|---|---|
#_EVENTNAME | Event title |
#_LINKEDNAME | Clickable event title (links to single event page) |
#_STARTDATE | Start date (formatted per WP settings) |
#_STARTDATE{d/m/Y} | Start date in custom PHP format |
#_STARTTIME | Start time |
#_LOCATIONNAME | Venue name |
#_ADDRESS | Venue address |
#_MAP | Embedded map |
#_NOTES | Event description |
#_ADDBOOKINGFORM | RSVP booking form |
#_EVENTIMAGE | Featured image |
#_AVAILABLESEATS | Remaining seats |
Where to set format strings
- Globally: Events → Settings → Events tab — set the default format for single events, event lists, etc.
- Per event: In the event editor, scroll down to override the format for just that event.
- Via templates: Go to Events → Templates to define reusable format strings, then reference them in shortcodes with
template_id="3".
Tip: EME supports both attributes and custom fields for adding extra data to events. The plugin maintainer recommends using custom fields — they support dropdowns, checkboxes, date pickers, file uploads, and more. Attributes are still available but are limited to plain text.
→ See also: All placeholders | Format templates | Event formatting | Custom fields
Enable bookings (RSVP)
To let visitors register for an event:
- Edit the event and click the RSVP tab
- Check “Enable bookings for this event”
- Set seats (the maximum number of attendees; 0 = unlimited)
- Set a price (leave empty for free events)
- Make sure your single event format includes
#_ADDBOOKINGFORM
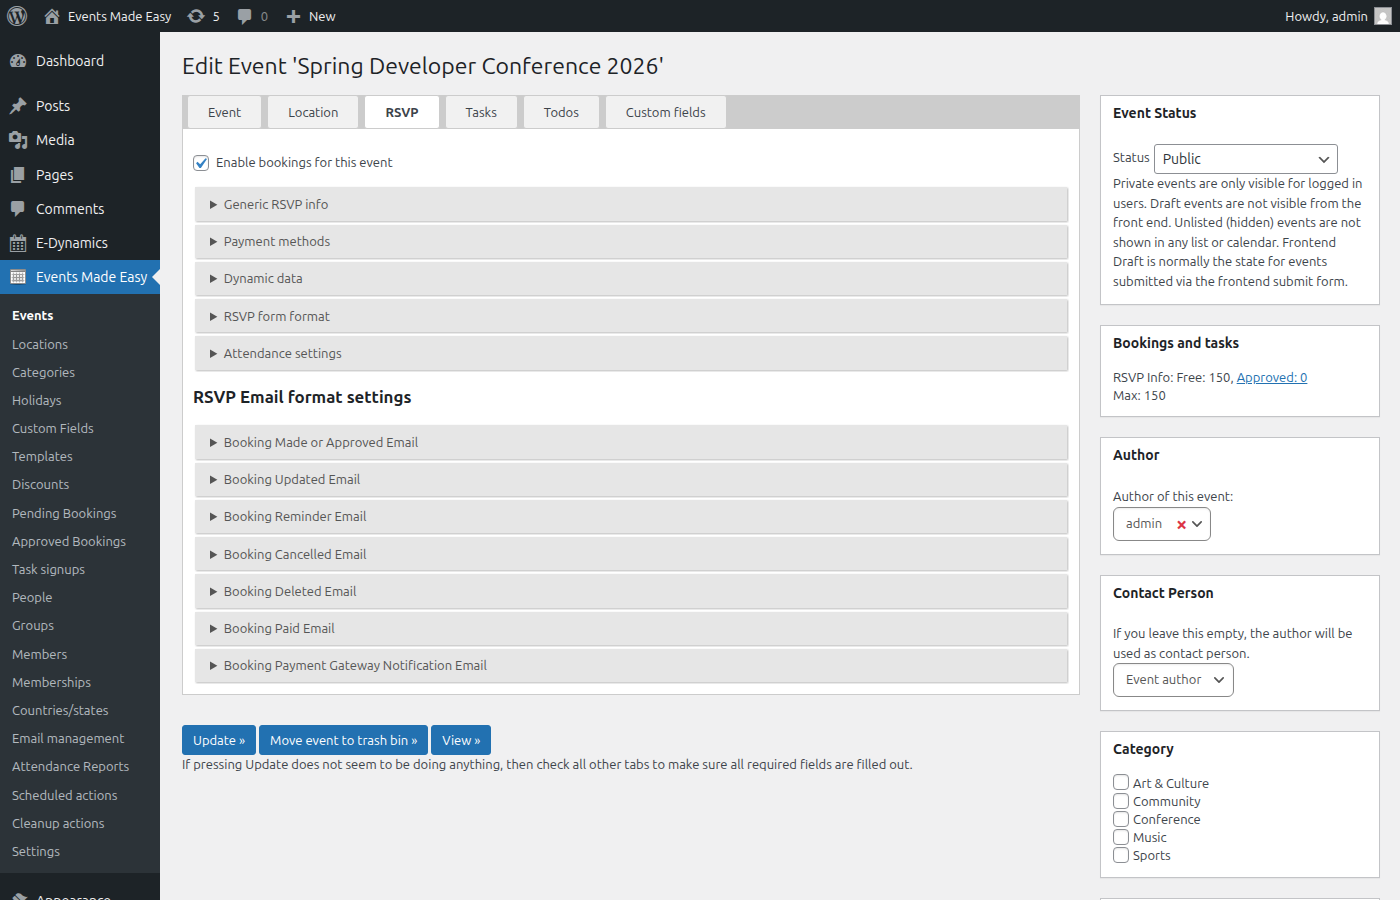
The RSVP tab also lets you configure:
- Booking approval — require manual admin approval or auto-approve
- WordPress login — require visitors to be logged in to book
- Waiting list — automatically offer a waiting list when seats are full
- Invitation-only — restrict booking to people with an invite URL
- Booking form format — customize the form fields and layout
- Email templates — separate templates for booking confirmation, approval, cancellation, reminders, and more
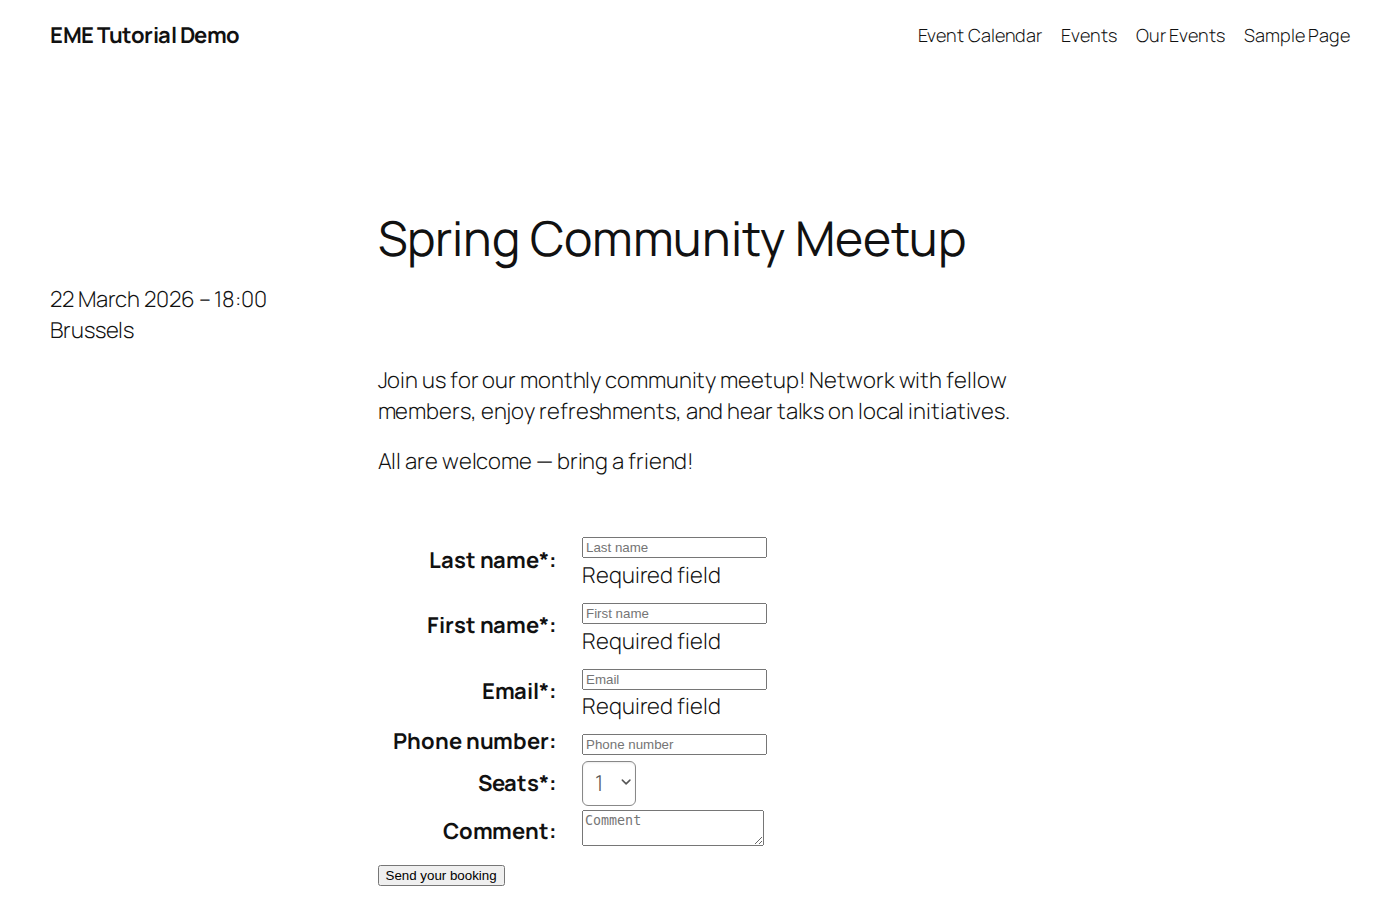
Visitors see the booking form directly on the event page:
What happens when someone books?
- Visitor fills the form — name, email, seats, custom fields, discount codes
- Validation — anti-spam honeypot, nonce check, seat availability, email uniqueness, required fields
- Person + booking created — returning visitor? Existing record updated. New? Person created, optionally added to a group
- Payment (if price > 0) — redirect to Stripe, Mollie, PayPal, or 13 other gateways
- Payment confirmed — server-to-server webhook from gateway, booking marked as paid
- Auto-approved — if configured; otherwise stays pending for manual admin review
- Emails sent — confirmation to attendee (with optional PDF ticket), notification to event manager
- Reminders — automated emails sent X days before the event via the mail queue
- Event day — check-in via QR code on ticket, real-time attendance tracking
→ See also: Booking form shortcode | Registration form formatting | Multi-price events | Waiting list
Set up payments
Go to Events → Settings → Payments tab. EME supports 16 payment gateways out of the box:
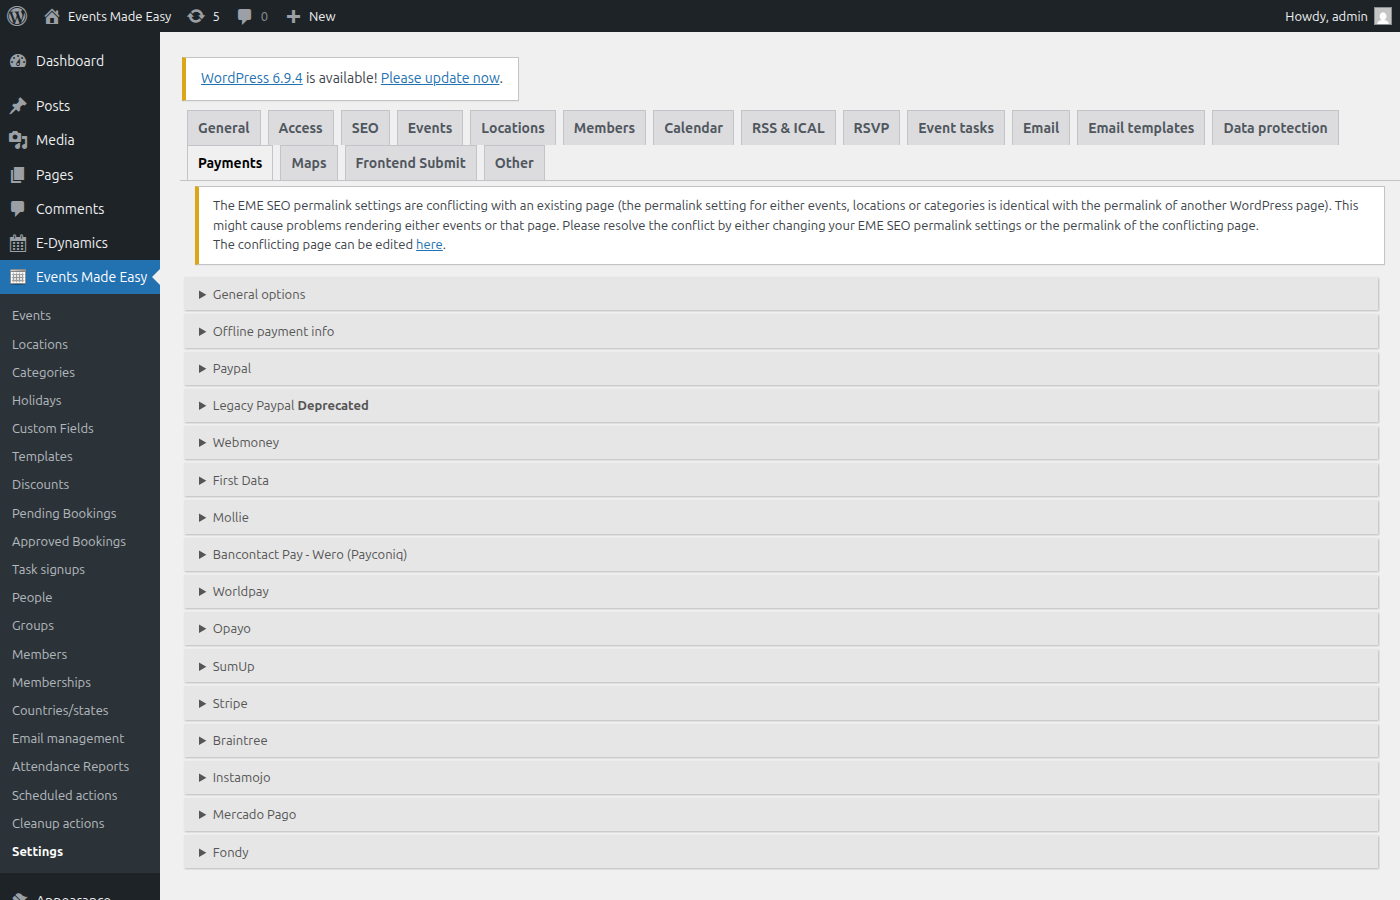
Supported gateways: PayPal, Mollie, Stripe, Braintree, Payconiq, SumUp, Opayo, Worldpay, Instamojo, Mercado Pago, Fondy, FirstData, 2Checkout, Bancontact/Wero, Webmoney, and offline payments.
For each gateway:
- Expand its section and activate it
- Enter your API keys / credentials
- Optionally enable test mode first to verify everything works
No fees from EME — EME doesn’t charge anything on top of the payment gateway’s own fees. Free events skip the payment step entirely.
→ See also: Payment gateway placeholders
Configure email
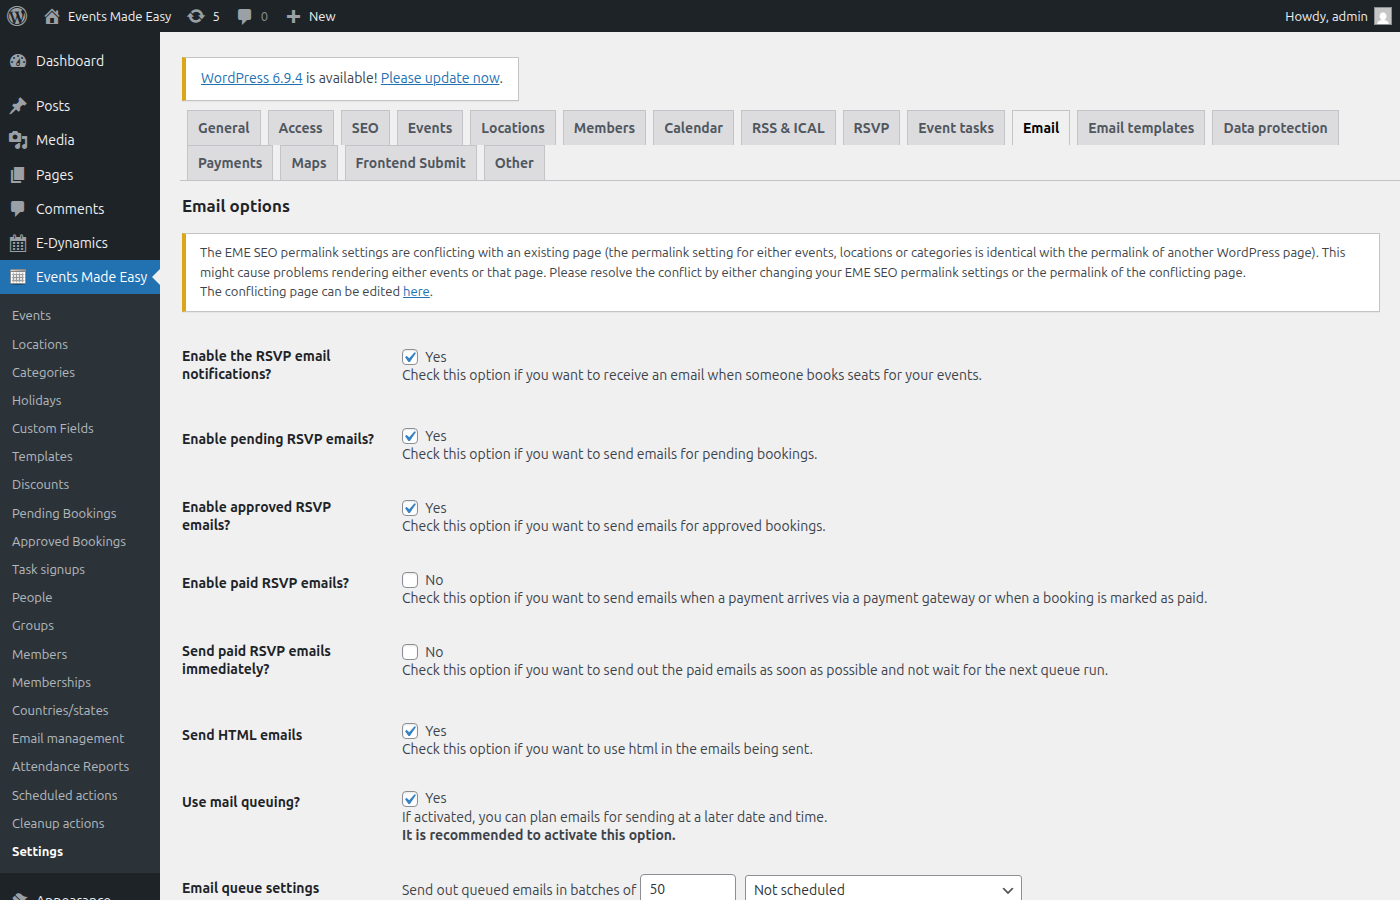
Go to Events → Settings → Email tab to set up how EME sends emails.
SMTP is recommended over PHP’s built-in mail() function for reliable delivery. Example Gmail setup:
- SMTP host:
smtp.gmail.com - Port:
587 - Encryption: TLS
- Username: your Gmail address
- Password: an app-specific password (required if 2FA is enabled)
EME provides separate email templates (in the Email templates settings tab) for every stage of the booking lifecycle:
- Booking confirmation / approval / update / cancellation / deletion
- Payment confirmation
- Booking reminders (sent automatically X days before the event)
Each template supports all event, location, person, and booking placeholders — see the RSVP mail formatting documentation for the full list.
Test your setup via Events → Email management → Send Mails — there’s a built-in test mail feature.
→ See also: Mail notification settings
Going further
EME is a deep plugin with 10+ years of real-world event management built in. Here are some of the advanced features you can explore:
| Feature | Description | Documentation |
|---|---|---|
| Custom fields | Add unlimited fields to events, people, and booking forms (dropdowns, checkboxes, file uploads, etc.) | Custom fields |
| Dynamic fields | Show/hide form fields and adjust pricing based on visitor selections | Custom fields |
| Discounts | Fixed amount, percentage, code-based, or per-seat discounts | Discounts |
| Memberships | Recurring subscriptions, content protection, PDF membership cards | Memberships |
| Tasks & volunteers | Per-event volunteer task signup with slot management | Tasks |
| CSV import | Bulk import events, locations, people, members, and payments | CSV import |
| Maps | OpenStreetMap integration with clustering and custom balloons | Maps |
| Conditional logic | [eme_if] shortcode for conditional content in templates | Conditional tags |
| REST API | Integrate EME with external systems | REST API |
| Multi-language | Full qTranslate-XT and Polylang support | Languages |
| Newsletter | Scheduled mailings to groups with event-aware templates | Newsletter |
| GDPR | Data requests, view/edit via secure links, automated cleanup | Compatibility |
| Hooks & filters | 40+ hooks for developer customization | Hooks |
Watch the full walkthrough: The plugin maintainer has recorded a 41-minute video tour covering installation, event creation, shortcodes, custom fields, RSVP, multi-price booking, payments, email, and settings.
Common pitfalls
- Maps or calendar not working? Your theme must call
wp_head()andwp_footer(). Without these hooks, EME cannot load its JavaScript. - “Form tampering detected”? A caching plugin is likely caching EME’s nonces. Exclude the event page from your cache.
- Emails not sending? Configure SMTP in Settings → Email. Test with the built-in test mail feature.
- Multi-price booking form broken? When using multiple price categories, replace
#_SEATSwith#_SEATS{1},#_SEATS{2}, etc. in your booking form format. - Events not appearing in search results? Events are not WordPress posts — they won’t appear in the default search. See the FAQ for how to customize your theme’s
search.php. - SEO plugin conflicts? Plugins like Yoast or The SEO Framework may add duplicate meta tags on event pages. See Compatibility for the correct filters to add.